Achieving the Perfect Shine and Snap: Your Comprehensive Guide to Tempering Chocolate

What exactly is chocolate tempering, and why does it matter for my desserts?
Imagine biting into a chocolate bar and experiencing that satisfying snap, followed by a smooth, even melt in your mouth. Or perhaps you’ve seen confections adorned with a perfectly glossy, blemish-free chocolate coating. These aren’t accidents—they’re the result of a process called tempering. When chocolate is simply melted and allowed to cool, the cocoa butter within it can crystallize in various unstable forms. This leads to a dull, streaky appearance (known as ‘bloom’), a soft, crumbly texture, and a chocolate that melts too quickly in your hands, not just your mouth. Tempering involves carefully controlling the temperature of chocolate to encourage the cocoa butter to form stable, uniform crystals. This ensures your chocolate sets beautifully, resists blooming, has that desirable crisp snap, and maintains its shine.
Think of cocoa butter as having several personalities—different crystal structures, or polymorphs, each with its own melting point and stability. Only one of these, Type V, gives us the qualities we adore in chocolate: gloss, firmness, and a high melting point. Tempering is essentially a dance of heating and cooling that guides the cocoa butter molecules to align themselves predominantly into this perfect Type V structure. It’s a foundational technique in serious pastry work, turning a simple ingredient into a medium for both flavor and exquisite presentation.
Without proper tempering, chocolate creations like truffles, dipped fruits, or molded candies will lack the professional finish and structural integrity expected. It’s not just about aesthetics; correctly tempered chocolate is also more resistant to heat and humidity, extending the shelf life and quality of your treats. For anyone serious about elevating their chocolate work, understanding and executing this process is a game-changer—or rather, a skill enhancer.
What tools do I need for successful chocolate tempering?
You might think tempering chocolate requires specialized, expensive equipment, but the truth is, most of what you need is likely already in your kitchen. The key is precision, not necessarily high-tech gadgets. Here’s a breakdown of the essential tools:
- Accurate Thermometer: This is non-negotiable. A digital thermometer with a fast read time and a range that covers chocolate temperatures (typically 85°F to 125°F or 29°C to 52°C) is ideal. Instant-read probes or candy thermometers work well.
- Heatproof Bowls: You’ll need at least two—one for melting the chocolate, and another if you're using an ice bath for cooling. Glass or stainless steel bowls are excellent as they retain heat well and are easy to clean.
- Rubber Spatulas: Essential for stirring the chocolate evenly and scraping down the sides of your bowl, ensuring all chocolate is incorporated and heated or cooled uniformly.
- Double Boiler Setup (or Microwave): While a microwave can be used, a double boiler (a bowl set over a saucepan of simmering water) offers gentler, more controlled heat, reducing the risk of scorching the chocolate.
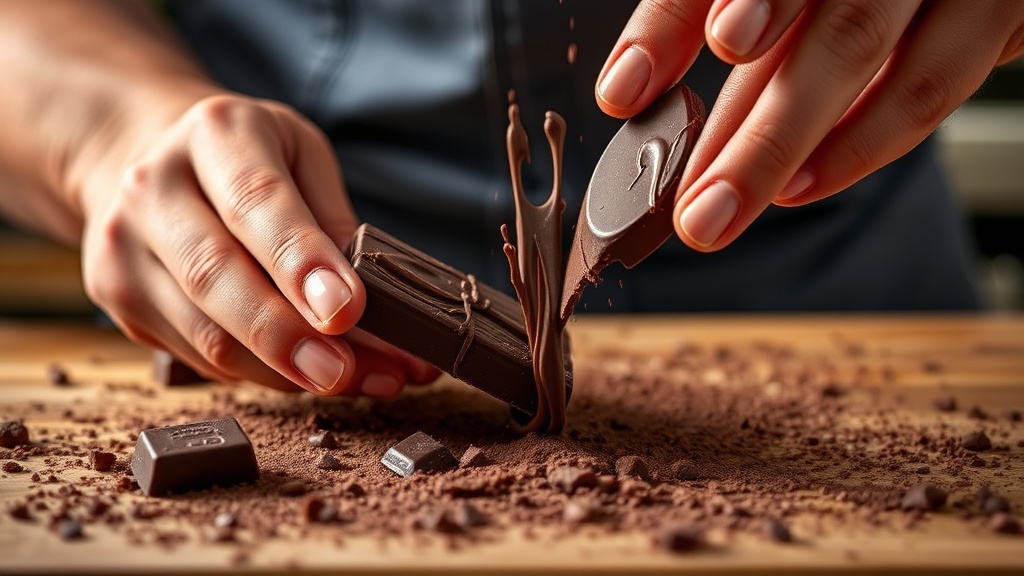
- Chopping Board and Sharp Knife: For finely chopping your chocolate. Smaller, uniform pieces melt more evenly and quickly.
- Clean, Dry Work Surface: Absolutely crucial! Any moisture introduced to chocolate will cause it to seize, turning it into a grainy, unworkable mess.
- Good Quality Chocolate: This might seem obvious, but not all chocolate is created equal for tempering. Use couverture chocolate, which has a higher cocoa butter content and is formulated for melting and tempering. If using baking chocolate, ensure it’s pure chocolate, not baking chips which often contain stabilizers that interfere with proper crystallization.
Having these simple tools at the ready makes the tempering process far less intimidating. It’s about creating an environment where you can monitor and control the chocolate’s temperature with confidence.
How can I achieve perfectly tempered chocolate at home using the seeding method?
The seeding method is arguably the most approachable tempering technique for home bakers, offering reliable results without requiring a marble slab or extensive workspace. It works by introducing already stable cocoa butter crystals (from un-melted chocolate, your ‘seed’) into melted chocolate, encouraging the entire batch to crystallize correctly. Here’s how to do it:
Step 1: Prepare Your Chocolate
Start with high-quality couverture chocolate—its higher cocoa butter content makes it more forgiving. Chop about two-thirds of your chocolate into very fine, uniform pieces. The remaining one-third should be kept in larger chunks or small pistoles/callets; this will be your “seed” chocolate.
Ensure your chopping board, knife, and bowls are impeccably clean and dry. Moisture is the arch-nemesis of chocolate and will cause it to seize instantly. Choose a clean, dry room, as high humidity can also cause issues. For a deeper dive into chocolate types and their uses,